DIY Pallet Shed: How to Use Free Plans to Build a Practical Shed
Dreaming of a charming, functional shed without breaking the bank? You can achieve that dream by building your own from reclaimed pallets! This guide walks you through the process of using free online plans to construct a practical and attractive pallet shed, perfect for storing garden tools, bicycles, or anything else cluttering your space. Forget expensive pre-fabricated sheds; with a little time and effort, you'll have a personalized storage solution that reflects your style and saves you a significant amount of money.
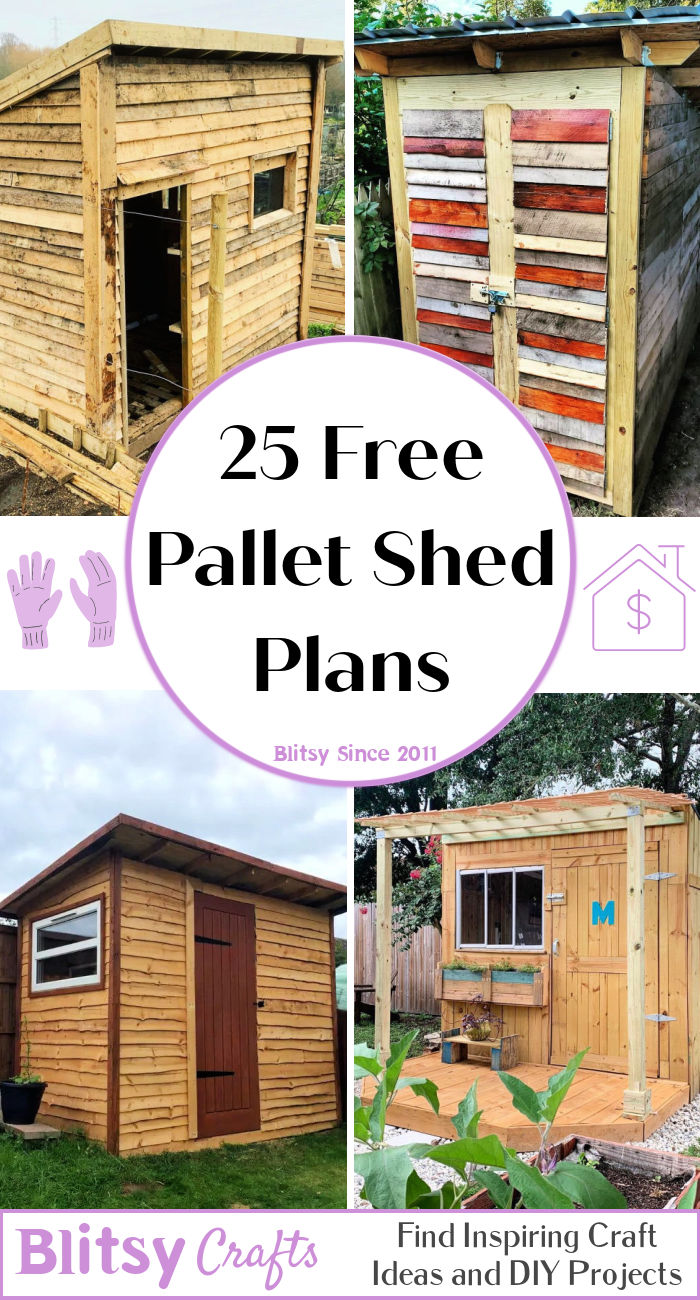
Finding the Perfect Free Shed Plans
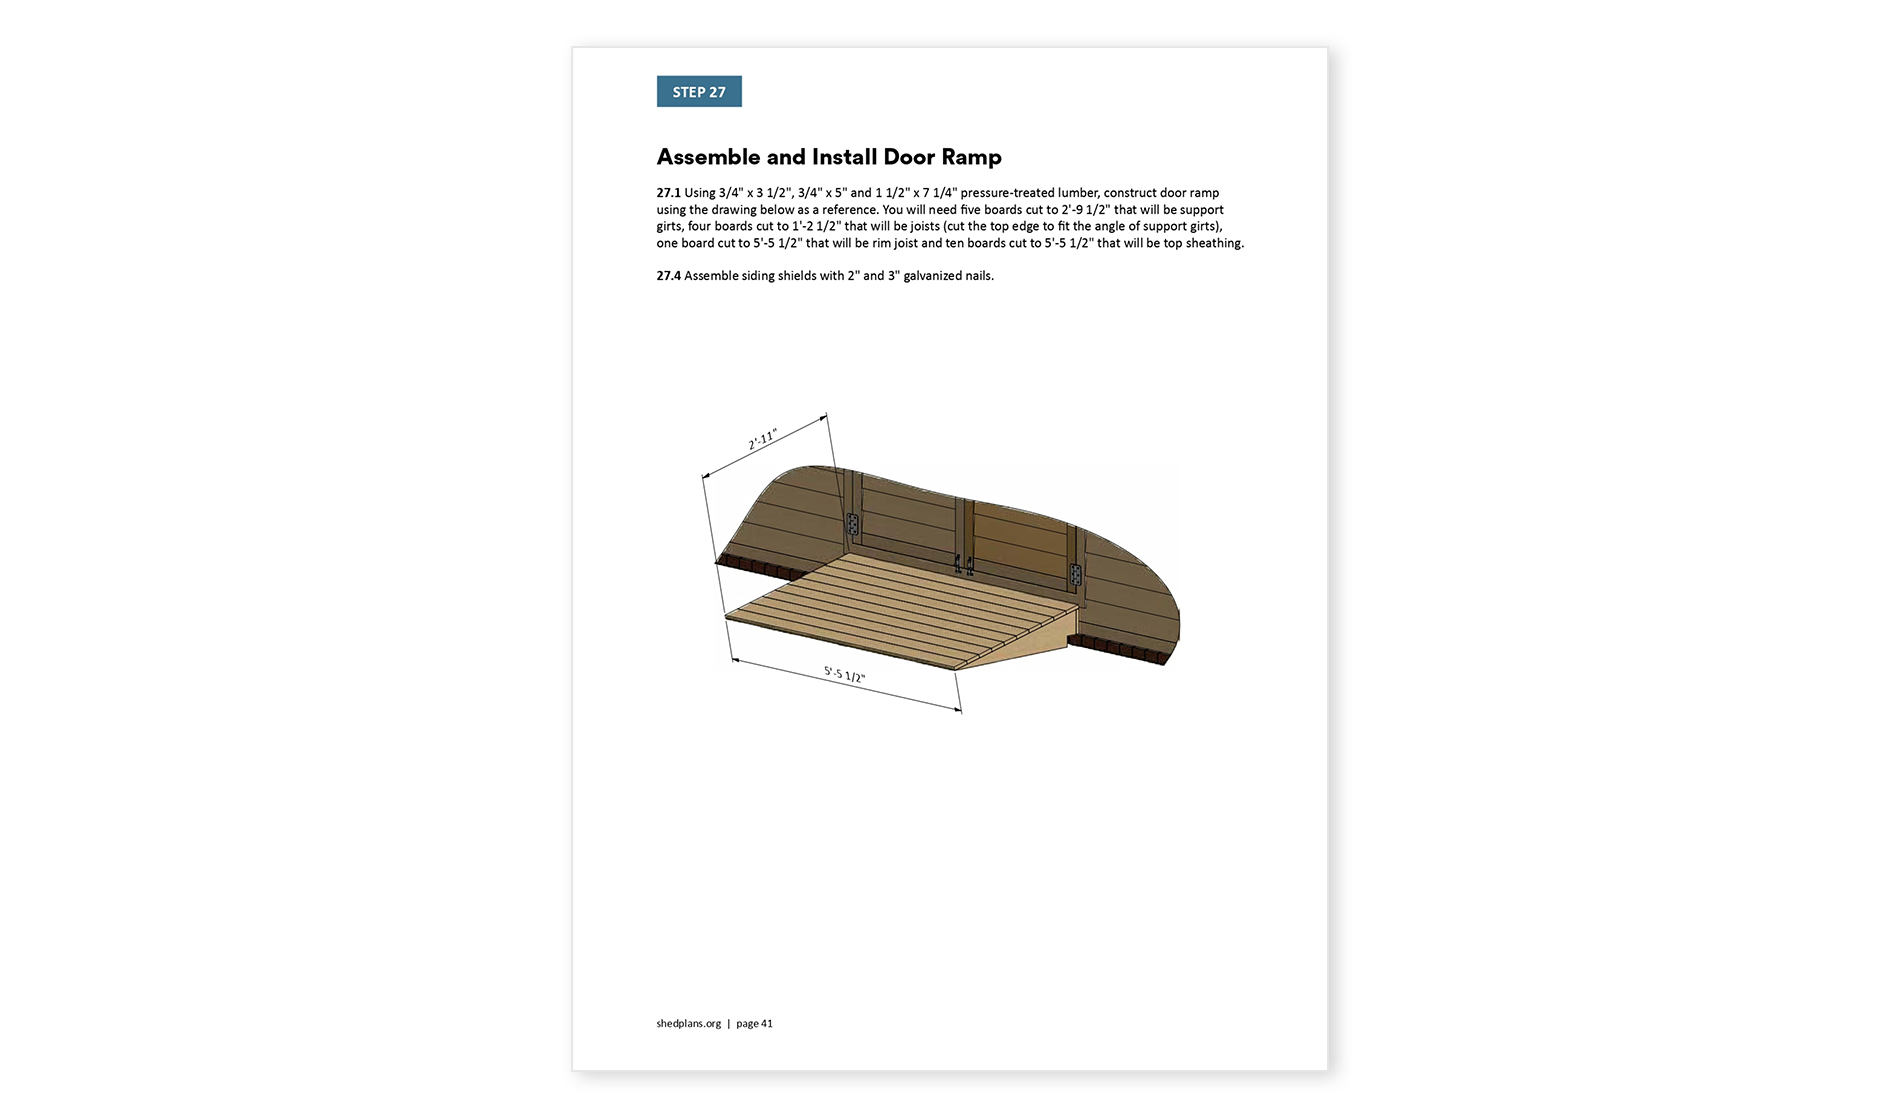
The internet is a treasure trove of free shed plans, catering to various skill levels and desired sizes. Begin your search on popular DIY websites and forums. Look for plans that explicitly detail the materials needed, provide clear diagrams, and include step-by-step instructions. Pay close attention to the dimensions to ensure the shed fits comfortably in your chosen location and meets your storage needs. Don't be afraid to browse multiple plans before settling on one that feels right for you. Consider factors like the overall size, roof style, and the complexity of the design.
Key Considerations When Choosing Plans
Before diving into construction, carefully review the plan details. Consider these crucial factors:
- Experience Level: Choose plans that match your DIY skills. Beginner-friendly plans will have simpler designs and detailed instructions.
- Pallet Condition: The plans should specify the type and condition of pallets needed. Ensure you source pallets that are structurally sound and free from rot or significant damage.
- Tools Required: Check the list of necessary tools. Gather everything beforehand to streamline the building process. This includes basic tools like hammers, saws, drills, and measuring tapes, but some plans might require more specialized tools.
Gathering Your Materials: Beyond the Pallets
While the pallets form the foundation of your shed, you'll need additional materials to complete the project. Most free plans will require roofing materials (such as corrugated metal sheets or asphalt shingles), screws or nails, and possibly additional lumber for framing or strengthening the structure. Creating a detailed shopping list from the plan is vital. Don't forget essential hardware like hinges, a latch, and any desired finishing touches like paint or sealant.
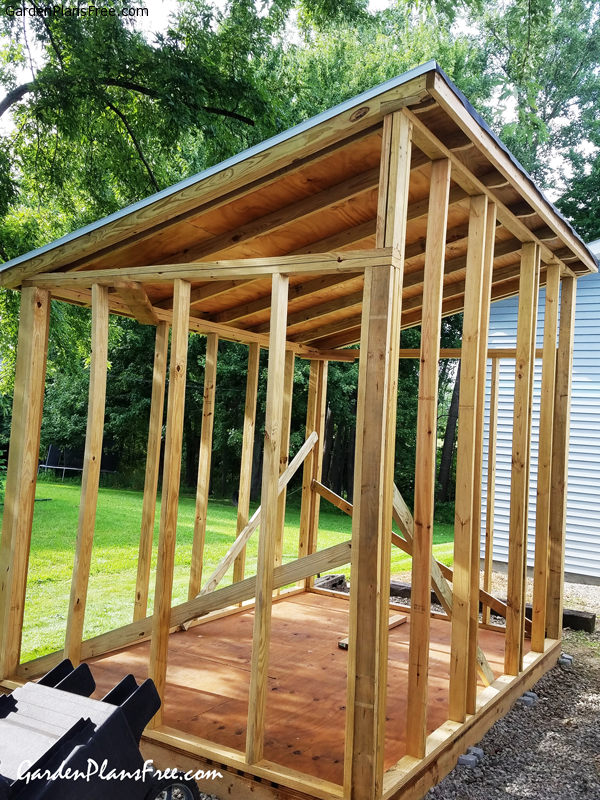
Building Your Pallet Shed: A Step-by-Step Guide
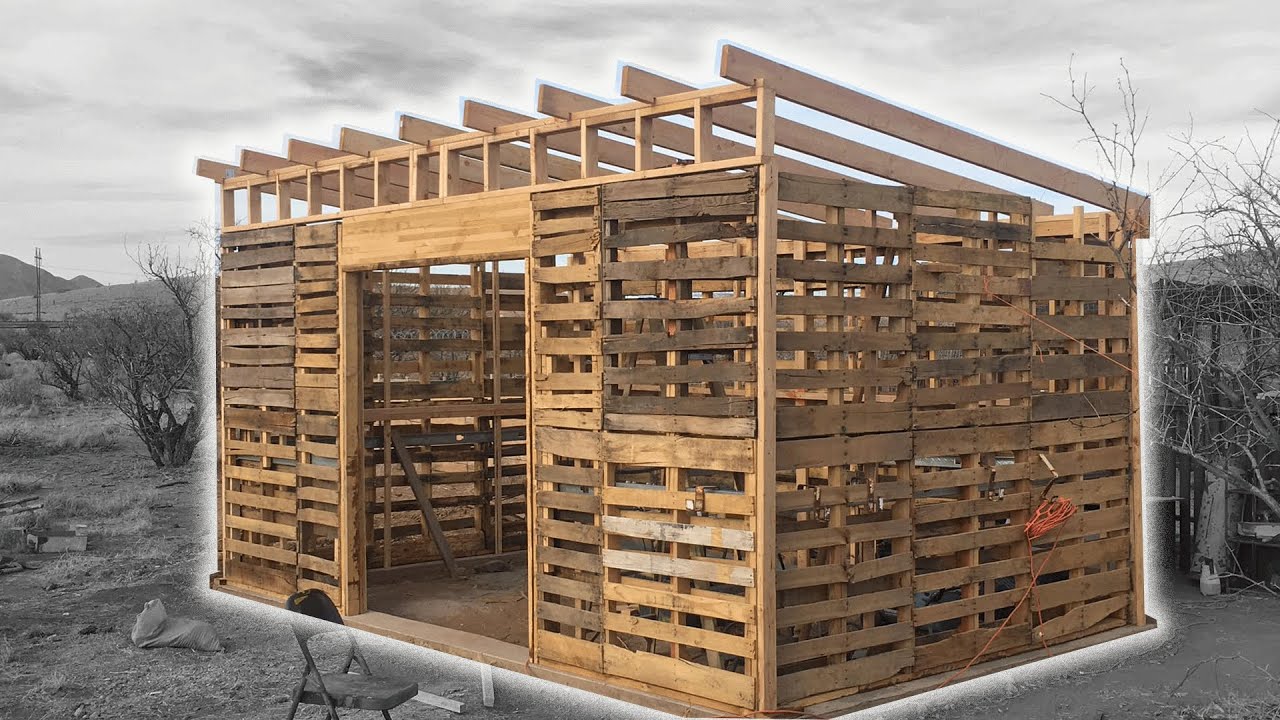
Once you have your plans and materials, it's time to build! Follow the instructions meticulously. Take your time and carefully measure at each stage. Begin by assembling the base, ensuring it's level and sturdy. Then, construct the walls, carefully connecting the pallet sections. Next, erect the roof frame, paying close attention to its pitch and ensuring stability. Finally, install the roofing material and add the door and any desired windows. Remember to wear appropriate safety gear throughout the entire process.
Tips for Success
- Prep your pallets: Remove any loose nails, splinters, or debris from the pallets before starting the construction.
- Use appropriate fasteners: Choose screws or nails that are strong enough to securely hold the structure together.
- Check for squareness regularly: Use a speed square or level to ensure the walls and roof are square and plumb throughout the building process.
- Treat the wood: Protect your shed from the elements by applying a weatherproof sealant or paint.
Building a pallet shed is a rewarding project that combines creativity, resourcefulness, and practical skills. By carefully choosing your plans and following these steps, you can create a durable and attractive storage solution that will enhance your property for years to come. Enjoy the process and take pride in your accomplishment!