


Affordable 8x6 Wood Shed Plans for Outdoor Garden Projects
Dreaming of a dedicated space for your gardening tools, potting supplies, and seasonal decorations? An 8x6 wood shed offers the perfect blend of functionality and affordability, providing ample storage without overwhelming your yard. This article provides detailed plans and advice to help you build your own, saving you money and giving you the satisfaction of a DIY project well done. Forget expensive pre-fabricated sheds â€" let’s get building!
Planning Your 8x6 Wood Shed
Before you even pick up a hammer, careful planning is crucial for a successful project. Start by selecting a suitable location in your garden. Consider factors like sunlight exposure (you might want some shade to prevent overheating), access for delivery of materials, and proximity to your garden beds for convenient access to your tools. Once you’ve chosen the perfect spot, it's time to acquire the necessary permits. Check with your local council to determine if building permits are required for a structure of this size; it's better to be safe than sorry. Finally, design your shed’s features. Do you need shelves? A workbench? A window for extra light? Sketch out your design, noting dimensions and materials needed. This detailed planning will streamline the construction process.
Materials List: Keeping Costs Down
Cost-effectiveness is key. You can significantly reduce expenses by sourcing affordable materials. Consider visiting local lumber yards or recycling centers for reclaimed wood, which can offer substantial savings. Don't be afraid to negotiate prices! Remember to factor in all materials, including:
Essential Materials:
- Pressure-treated lumber for the base and framing (resistant to rot and insects)
- Untreated wood for the walls and roof (less expensive than pressure-treated)
- Roofing felt or shingles
- Exterior-grade plywood for sheathing (protects against moisture)
- Nails, screws, and other fasteners
- Hinges and a latch for the door
- Window (optional)
- Concrete blocks or a concrete slab for the foundation (consider the soil conditions)
- Paint or wood stain (optional, but adds protection and aesthetic appeal)
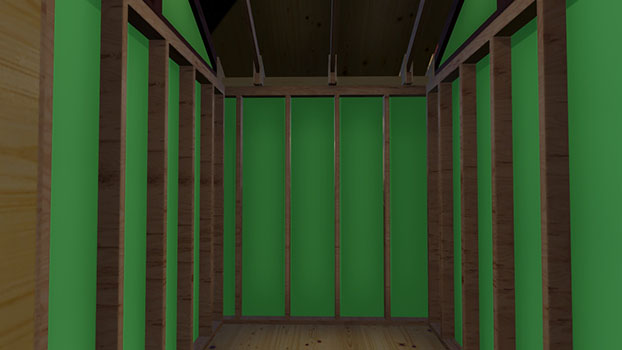
Construction: A Step-by-Step Guide
Now for the fun part! The construction process typically involves these steps. Begin by preparing a level foundation using concrete blocks or a concrete slab. This ensures stability and longevity for your shed. Next, erect the frame, carefully measuring and cutting the lumber according to your plan. Remember to use a level and plumb bob to ensure everything is square and vertical. Once the frame is complete, add the sheathing to the walls, followed by the roof structure. Finally, install the door, windows (if any), and roofing materials. Take your time and double-check your measurements throughout the process; accuracy is vital. Don't forget to properly seal all joints and seams to create a waterproof barrier.
Finishing Touches and Cost-Saving Tips
Adding a finishing touch can transform your shed from functional to beautiful. Apply a coat of weather-resistant paint or stain not only for aesthetics, but also to protect the wood from the elements. Consider adding shelving units or a simple workbench to maximize your storage space. For further cost savings, consider using recycled or reclaimed materials wherever possible. You might find fantastic deals on slightly imperfect lumber or even salvaged doors and windows.
Building your own 8x6 wood shed is a rewarding project that combines practicality with significant cost savings. By following these plans and tips, you can create a durable and attractive storage solution perfectly suited to your garden needs. So, gather your tools, and let’s get building!


No comments:
Post a Comment
Note: Only a member of this blog may post a comment.