


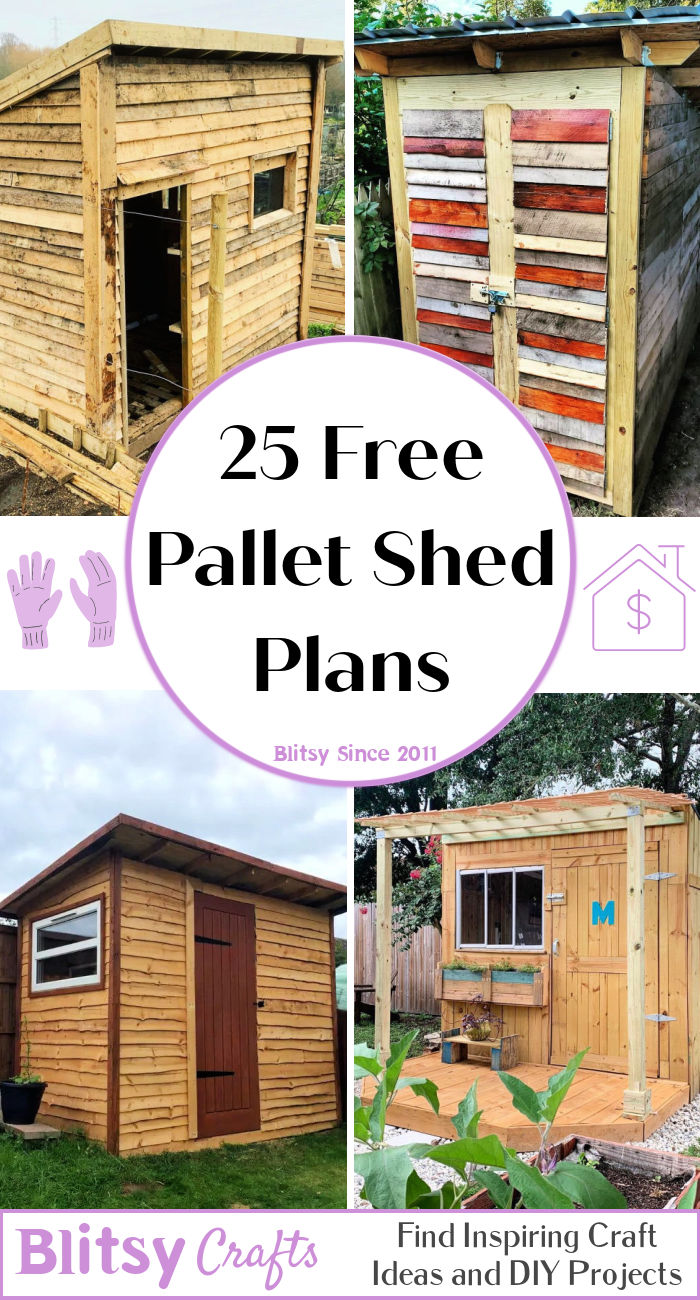
Step-by-Step Small Pallet Shed Plans for a Reliable Storage Solution
Tired of clutter overflowing your garage or garden? A small, sturdy shed can be the perfect solution, and building one from repurposed pallets offers a budget-friendly and eco-conscious approach. This step-by-step guide provides detailed plans for constructing a reliable and attractive pallet shed, perfect for storing garden tools, outdoor equipment, or even extra firewood. Get ready to transform those discarded pallets into a functional and aesthetically pleasing addition to your property!
Planning Your Pallet Shed
Before you begin hammering nails, meticulous planning ensures a smooth building process. First, determine the desired dimensions of your shed. Consider the space available and the items you plan to store. A compact design, roughly 4ft x 6ft, is ideal for a small-scale project and requires fewer materials. Next, source your pallets. Look for sturdy pallets made of pressure-treated lumber, ensuring they’re free of rot, damage, and any loose nails. Inspect each pallet carefully and discard any unsuitable ones. Finally, sketch a basic design outlining the walls, roof, and door. This blueprint will guide you throughout the construction, minimizing errors and maximizing efficiency.
Gathering Materials and Tools
Essential Materials
The beauty of this project lies in its simplicity; you'll primarily use reclaimed pallets. However, you'll need some supplementary materials to complete the structure. These include:
- Concrete blocks or a suitable foundation: To elevate the shed off the ground.
- Roofing materials: Tar paper, corrugated metal sheets, or even recycled shingles will suffice.
- Exterior paint or sealant: To protect the wood and enhance the shed's appearance.
- Hinges and a latch: For the shed door.
- Screws and nails: For securing the pallets and other components.
Essential Tools
You'll need a basic set of tools readily available at most hardware stores. These include:
- Hammer and pry bar: To dismantle and assemble the pallets.
- Screwdriver (Phillips and flathead): For securing screws.
- Drill with drill bits: For pilot holes and added stability.
- Measuring tape and level: For accuracy and alignment.
- Circular saw or hand saw: To cut pallets and other materials if necessary.
- Safety glasses and gloves: To protect your eyes and hands from splinters and debris.
Construction Steps: Building Your Pallet Shed
Begin by dismantling your pallets carefully, removing any loose nails and ensuring the wood remains intact. Use a pry bar and hammer for this step, exercising caution. Then, assemble the walls, connecting the pallets vertically using screws for maximum strength. Use your pre-made design to guide your wall construction. After building the walls, construct the floor frame, again using the pallets and securing them firmly. Then you place the walls on the concrete blocks or foundation. Next, you'll build and attach the roof structure. Remember to ensure a sufficient overhang to protect the shed from rain. Finally, attach the door hinges and latch, adding a final coat of paint or sealant for weather protection. Your new pallet shed is ready to use!
Finishing Touches and Maintenance
Once your shed is complete, consider adding some finishing touches to enhance its functionality and aesthetics. This could include painting the exterior, adding shelves for improved storage, or installing a small window for ventilation. Regular maintenance is crucial to prolong the life of your shed. Periodically inspect the structure for any loose components and repair them promptly. Apply a fresh coat of paint or sealant every few years to protect the wood from the elements. By following these simple steps, you can enjoy a reliable and attractive storage solution for years to come.


No comments:
Post a Comment
Note: Only a member of this blog may post a comment.